How to deploy a web with Amplify Hosting


Table of contents

No headings in the article.
This is a practical use case where I will explain step by step how I deployed my blog using Amplify Hosting. I will use the AWS Console to do it.
The source code of my website is available Here
Introduction: AWS Amplify is a set of purpose-built tools and features that enables frontend web and mobile developers to quickly and easily build full-stack applications on AWS.
Amplify provides two services: Amplify Hosting and Amplify Studio.
Amplify Hosting provides a git-based workflow for hosting full-stack serverless web apps with continuous deployment. Amplify Studio is a visual development environment that simplifies the creation of scalable, full-stack web and mobile apps. Use Studio to build your frontend UI with a set of ready-to-use UI components, create an app backend, and then connect the two together.
How to deploy a web with Amplify:
We need to have our code ready to be deployed in a supported repository.
Supported repositories: GitHub, Bitbucket, GitLab and AWS CodeCommit.
Another option is to deploy manually with drag and drop, Amazon S3 or any URL.
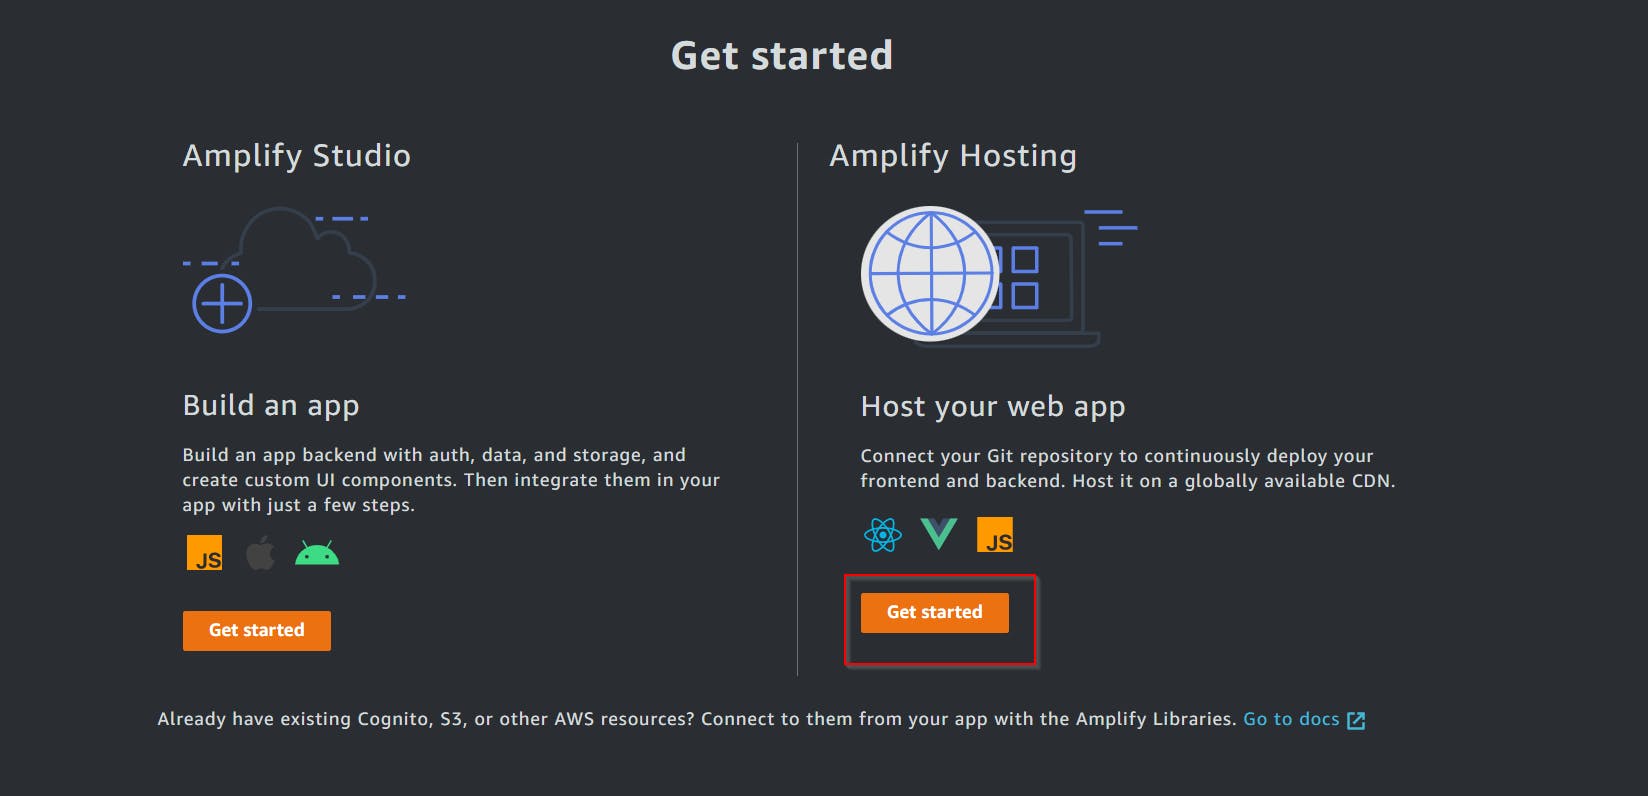
In AWS Console, enter to AWS Amplify service and choose Amplify Hosting
a) If you don’t have any Amplify resource, this screen appears and you have to click on Get Started

and then choose Amplify Hosting
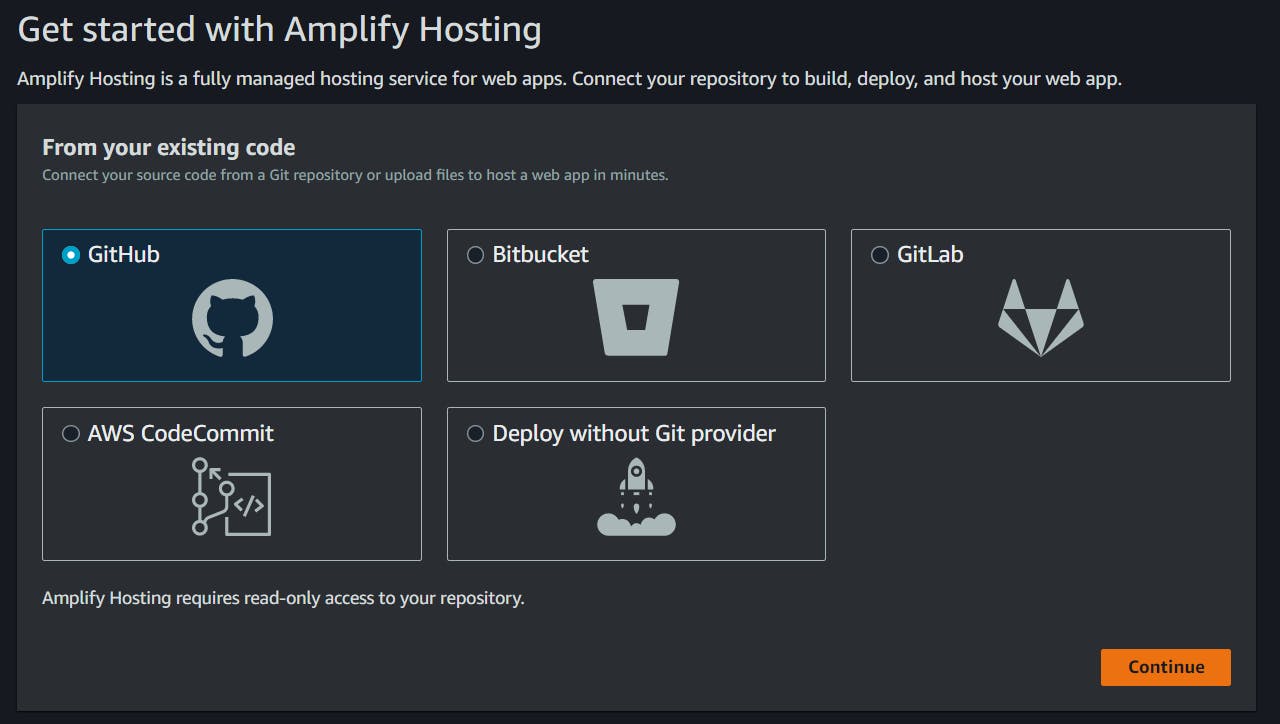
b) It will take you to the page where you will select the source code for your website.
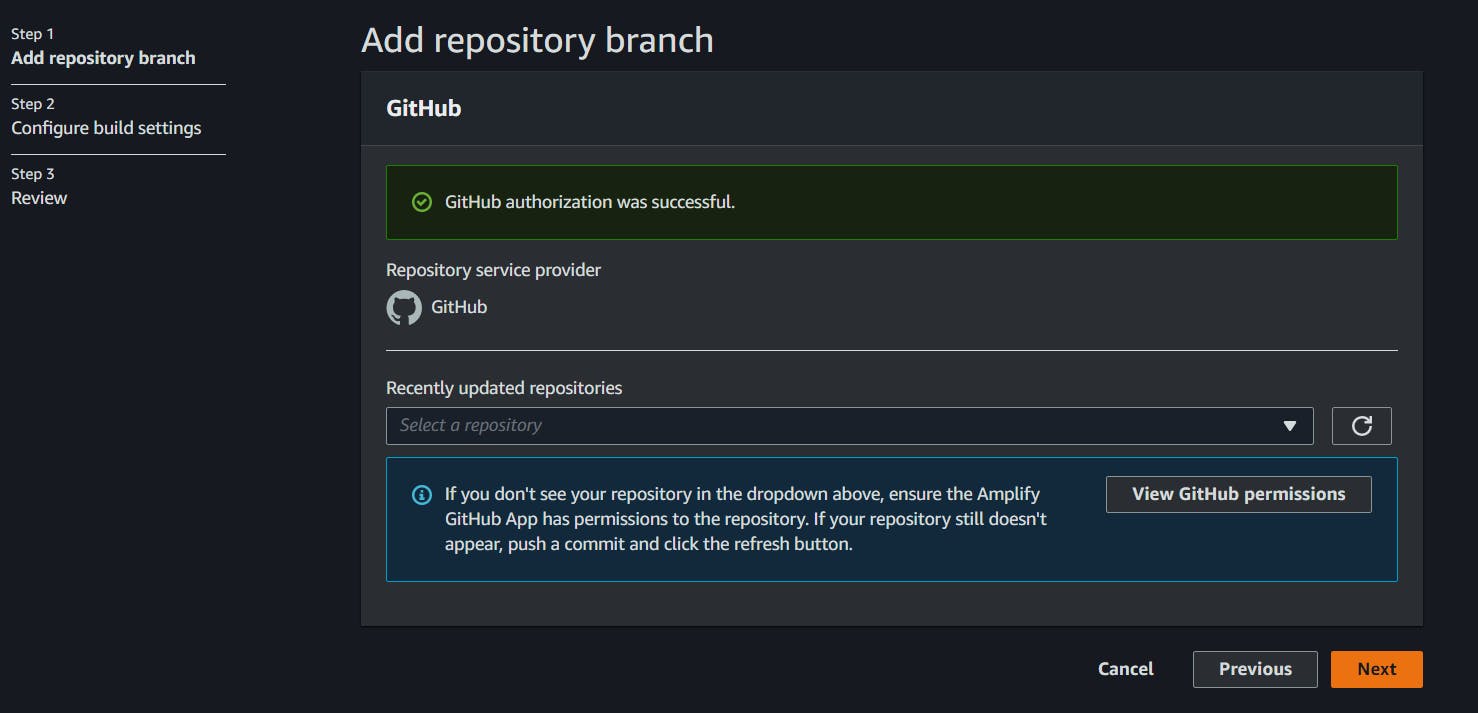
Select the Github and then select the repo. click next and then click finish
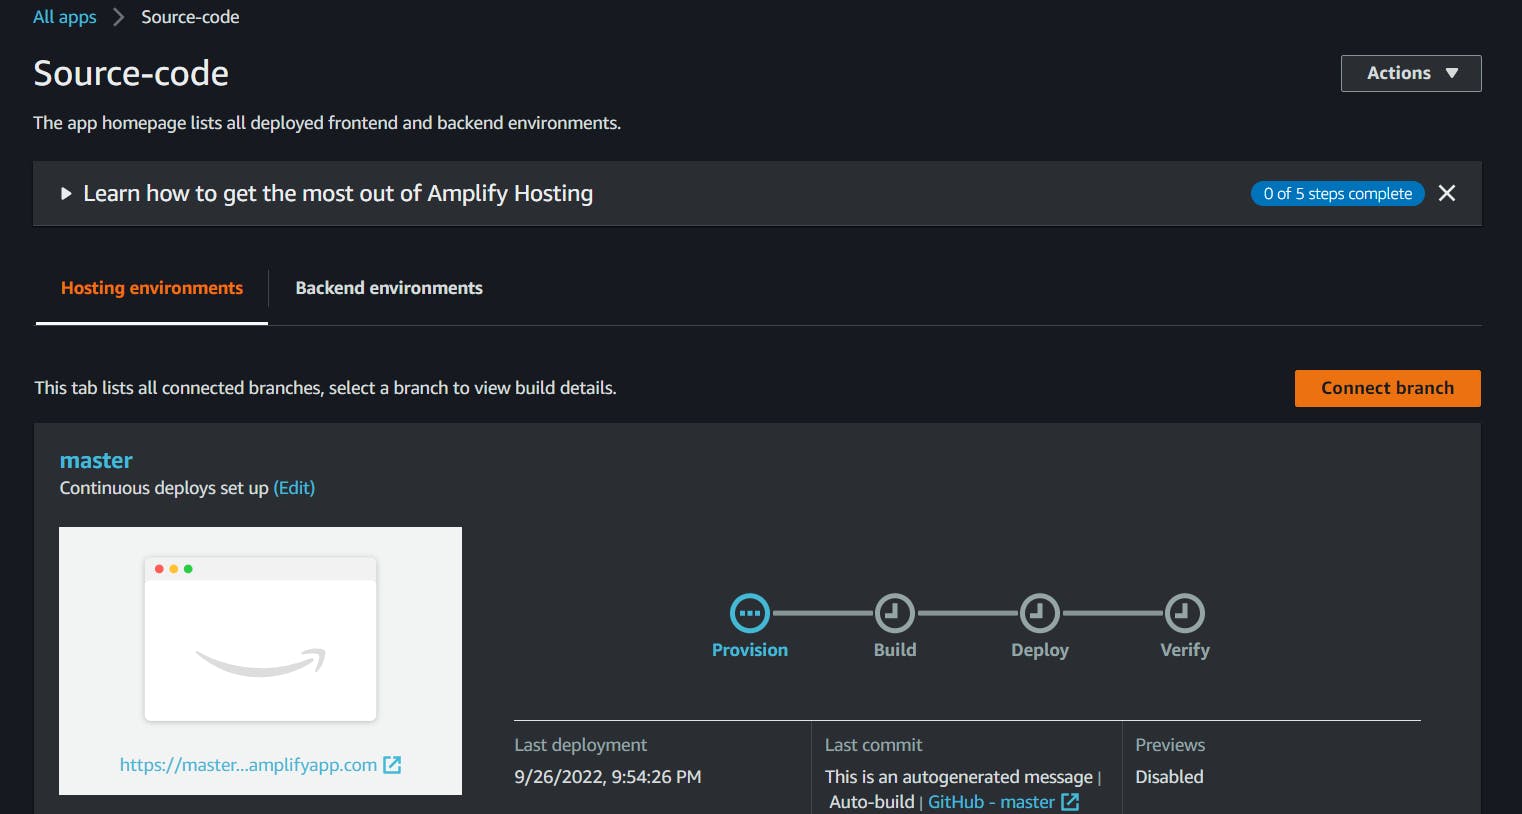
c) Once everything is deployed you will See this page. click on the URL
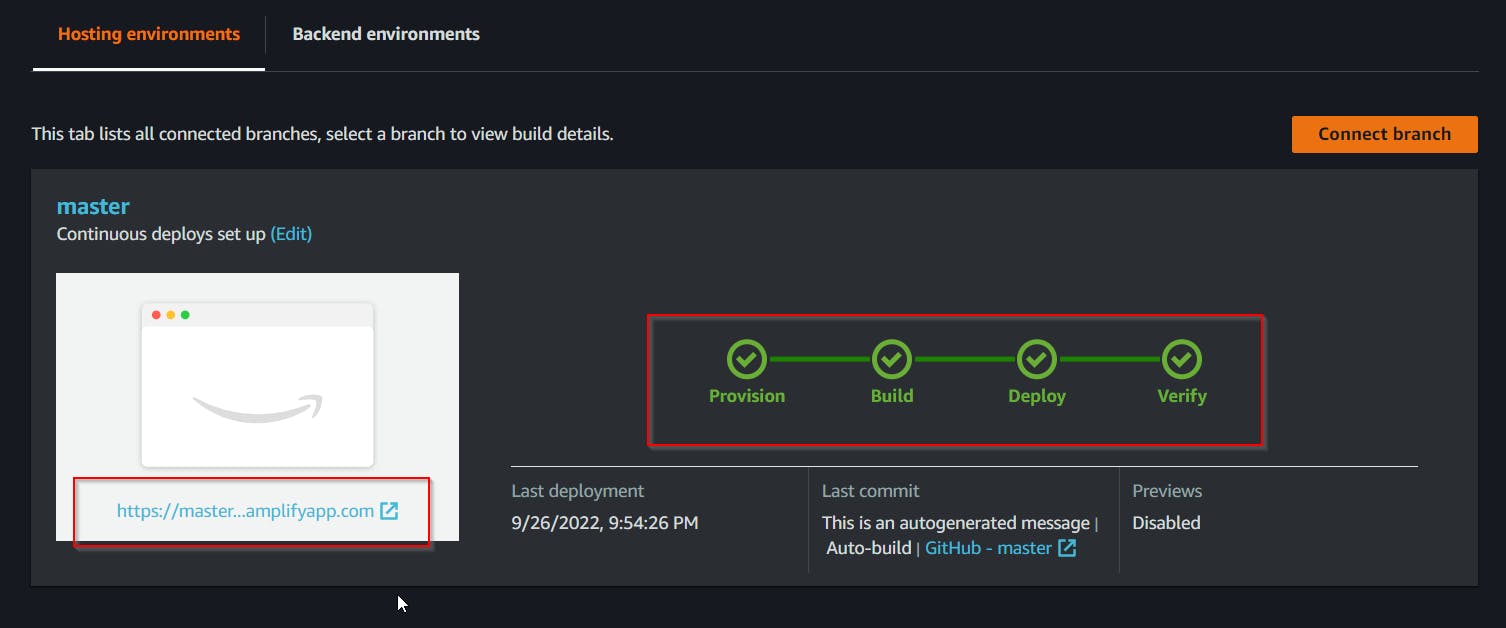
Final Results!!!